Quick Answer
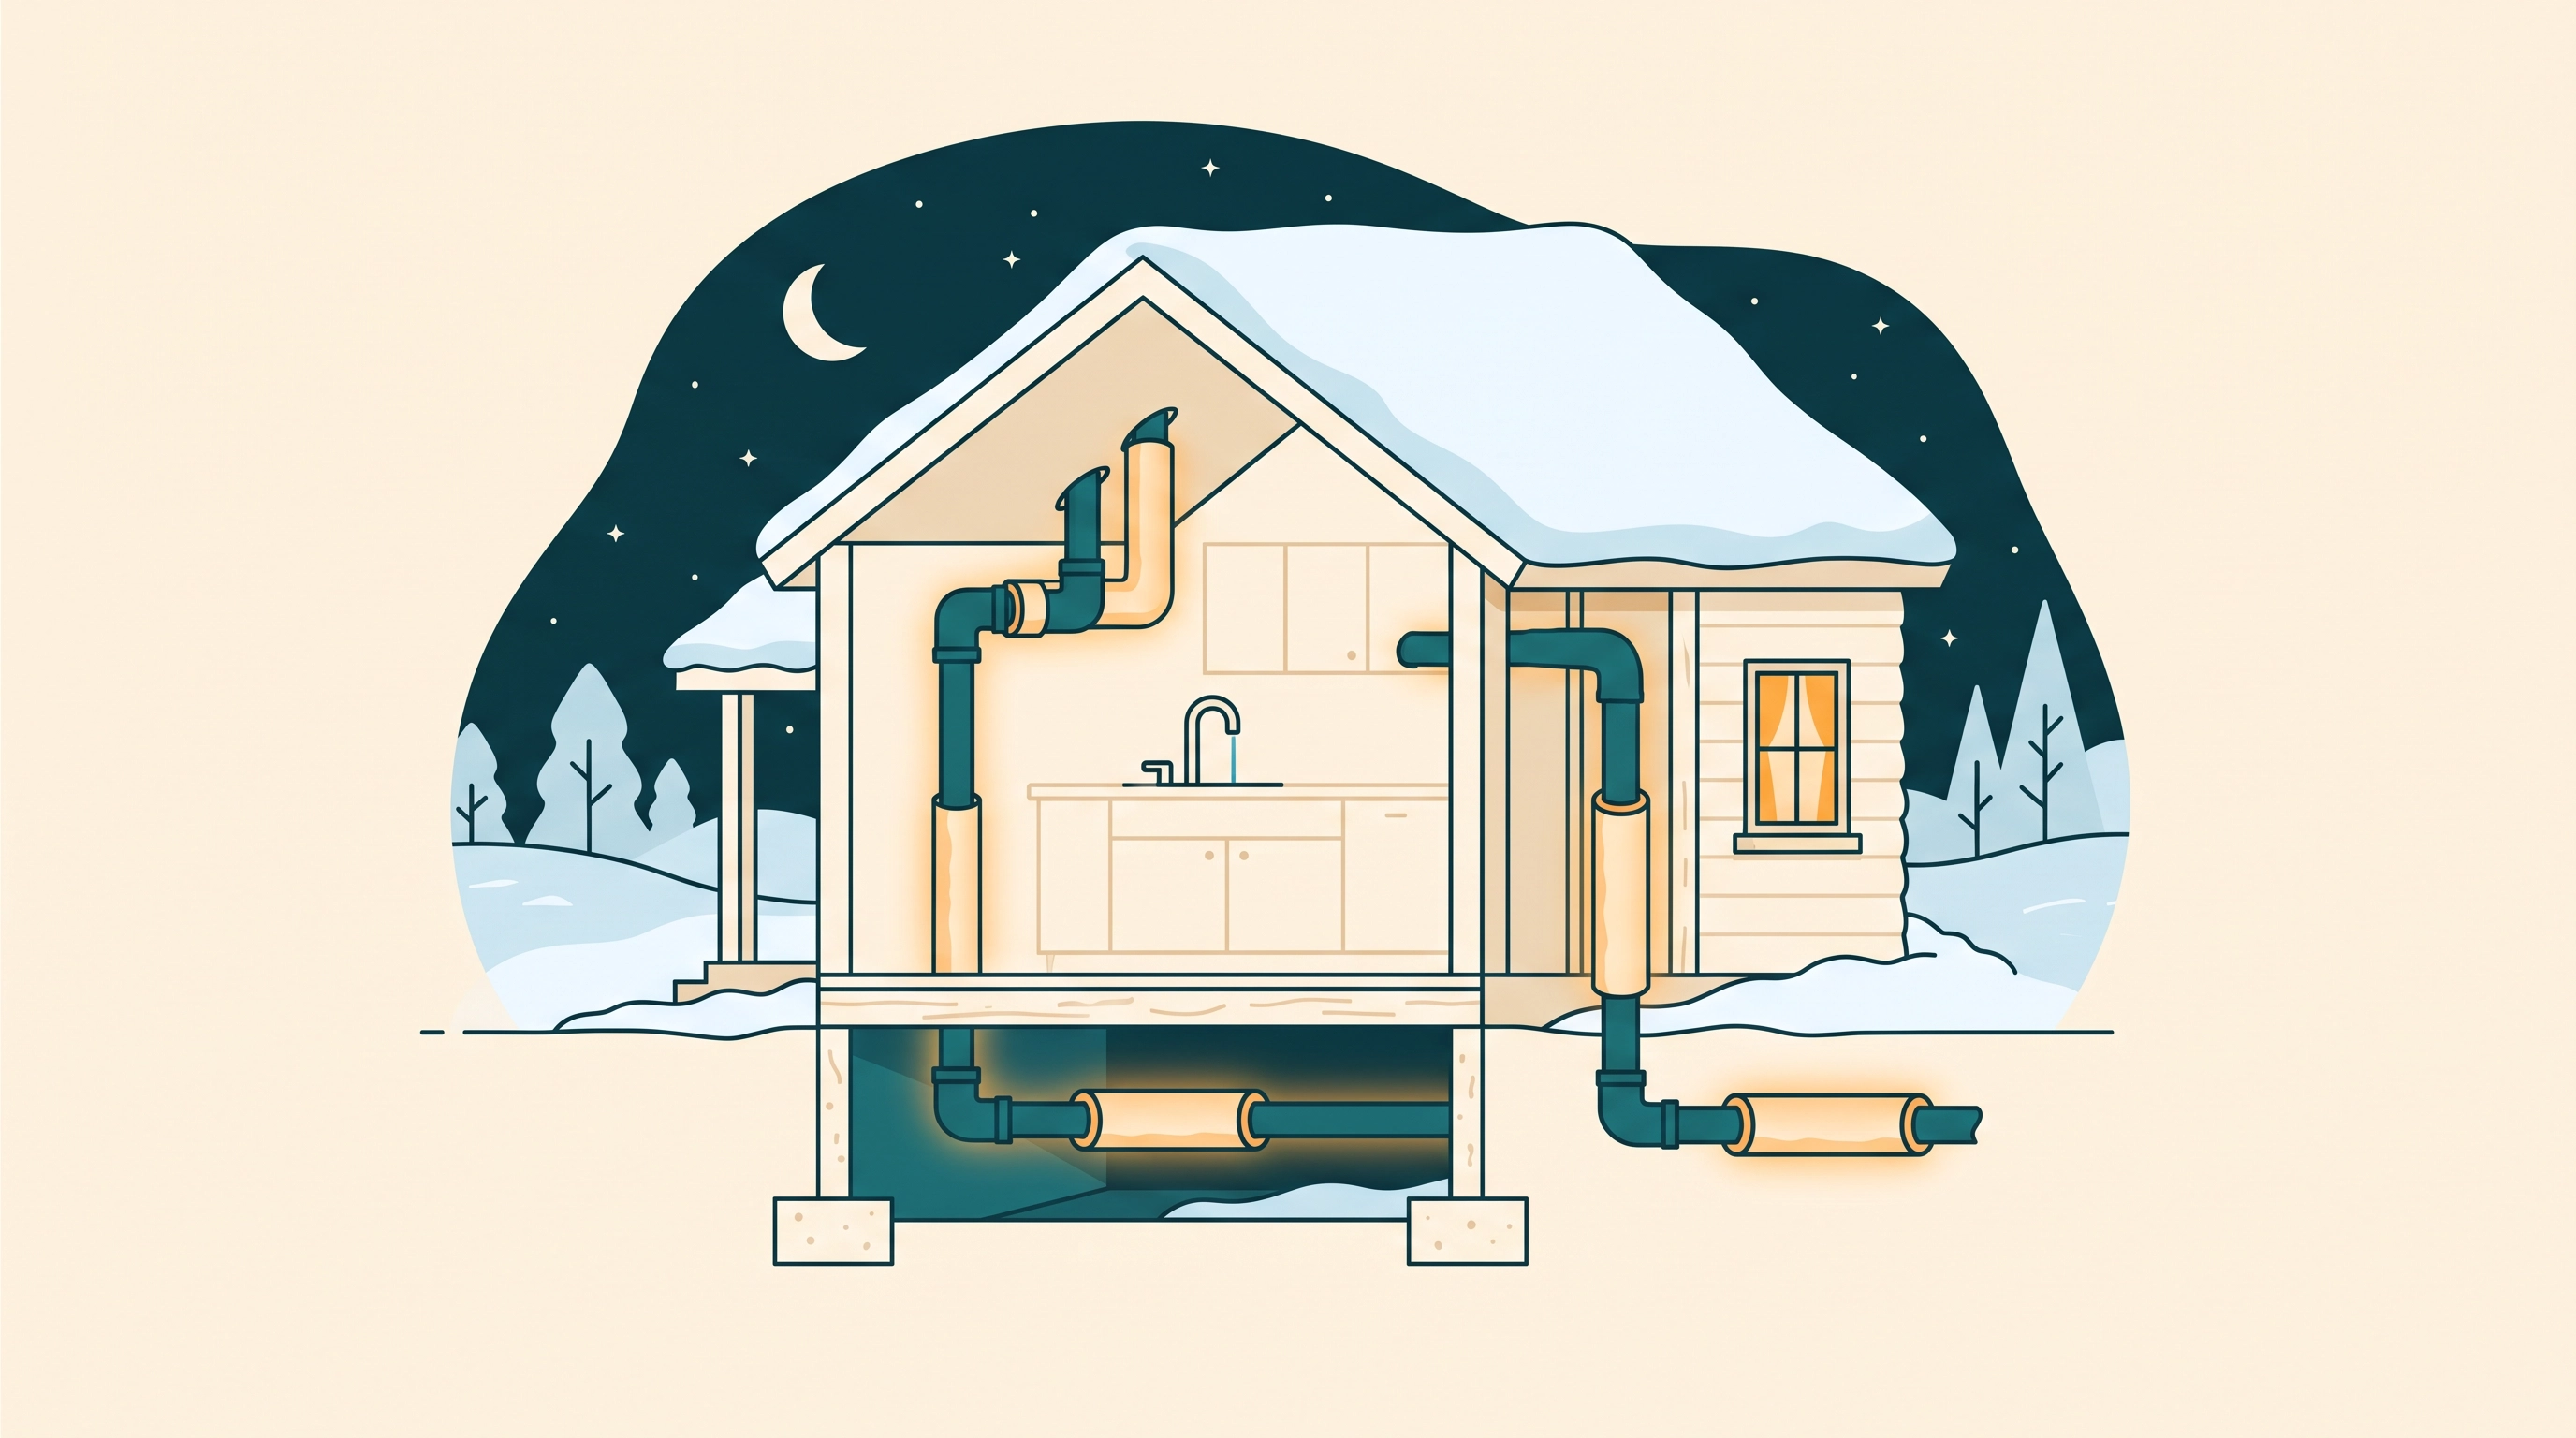
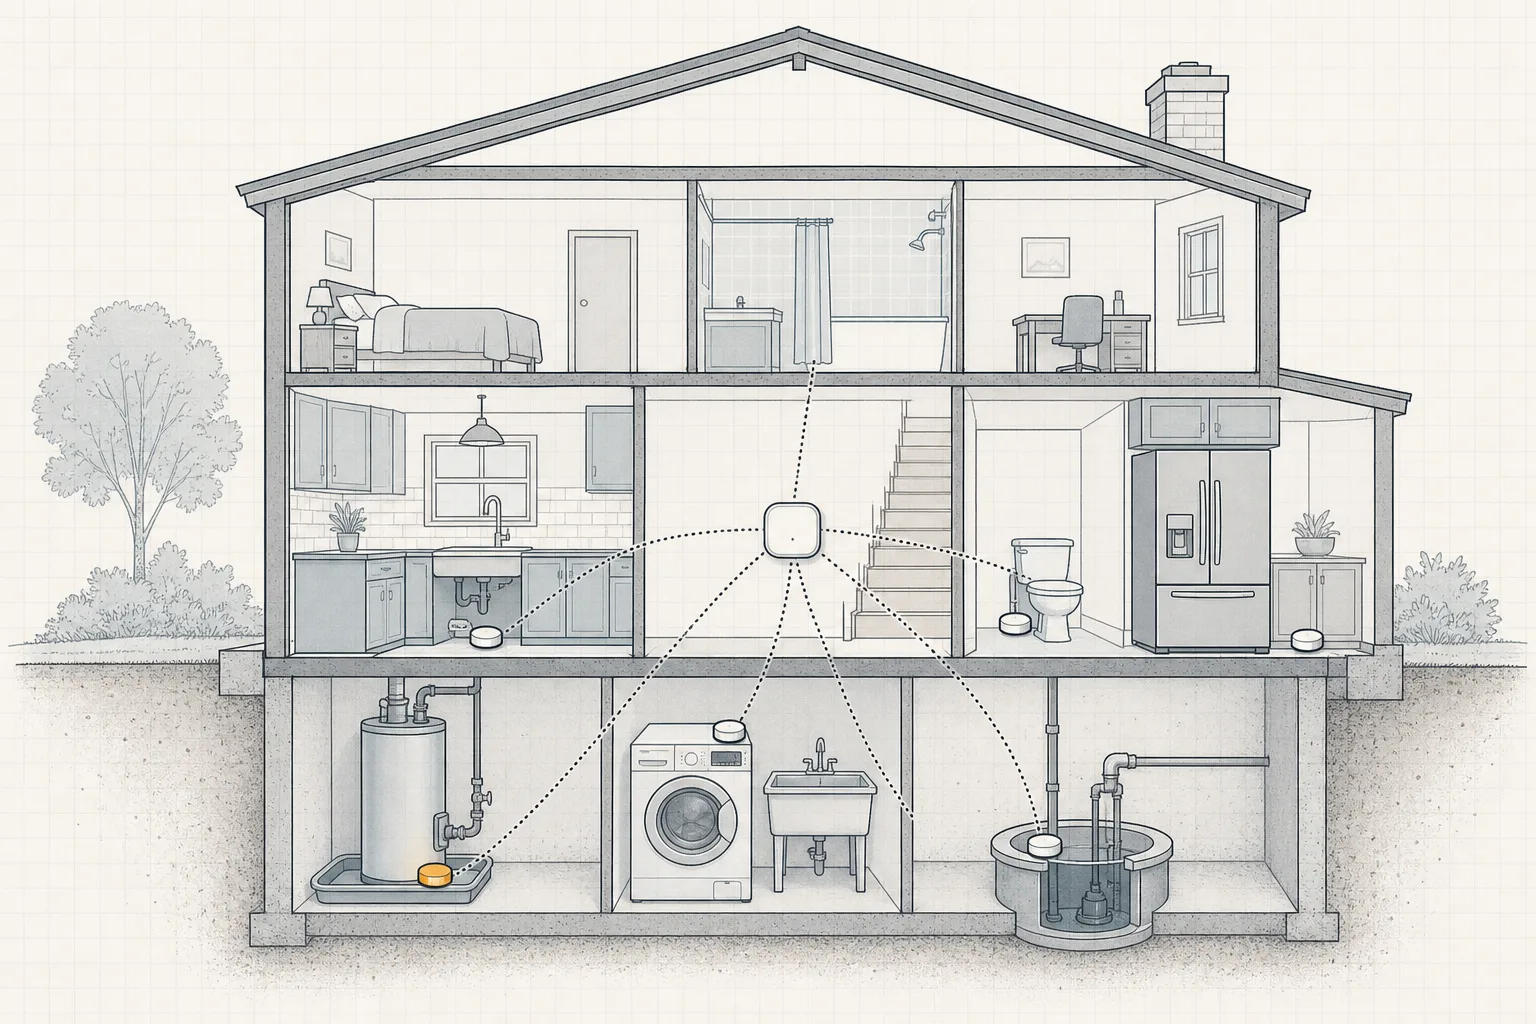
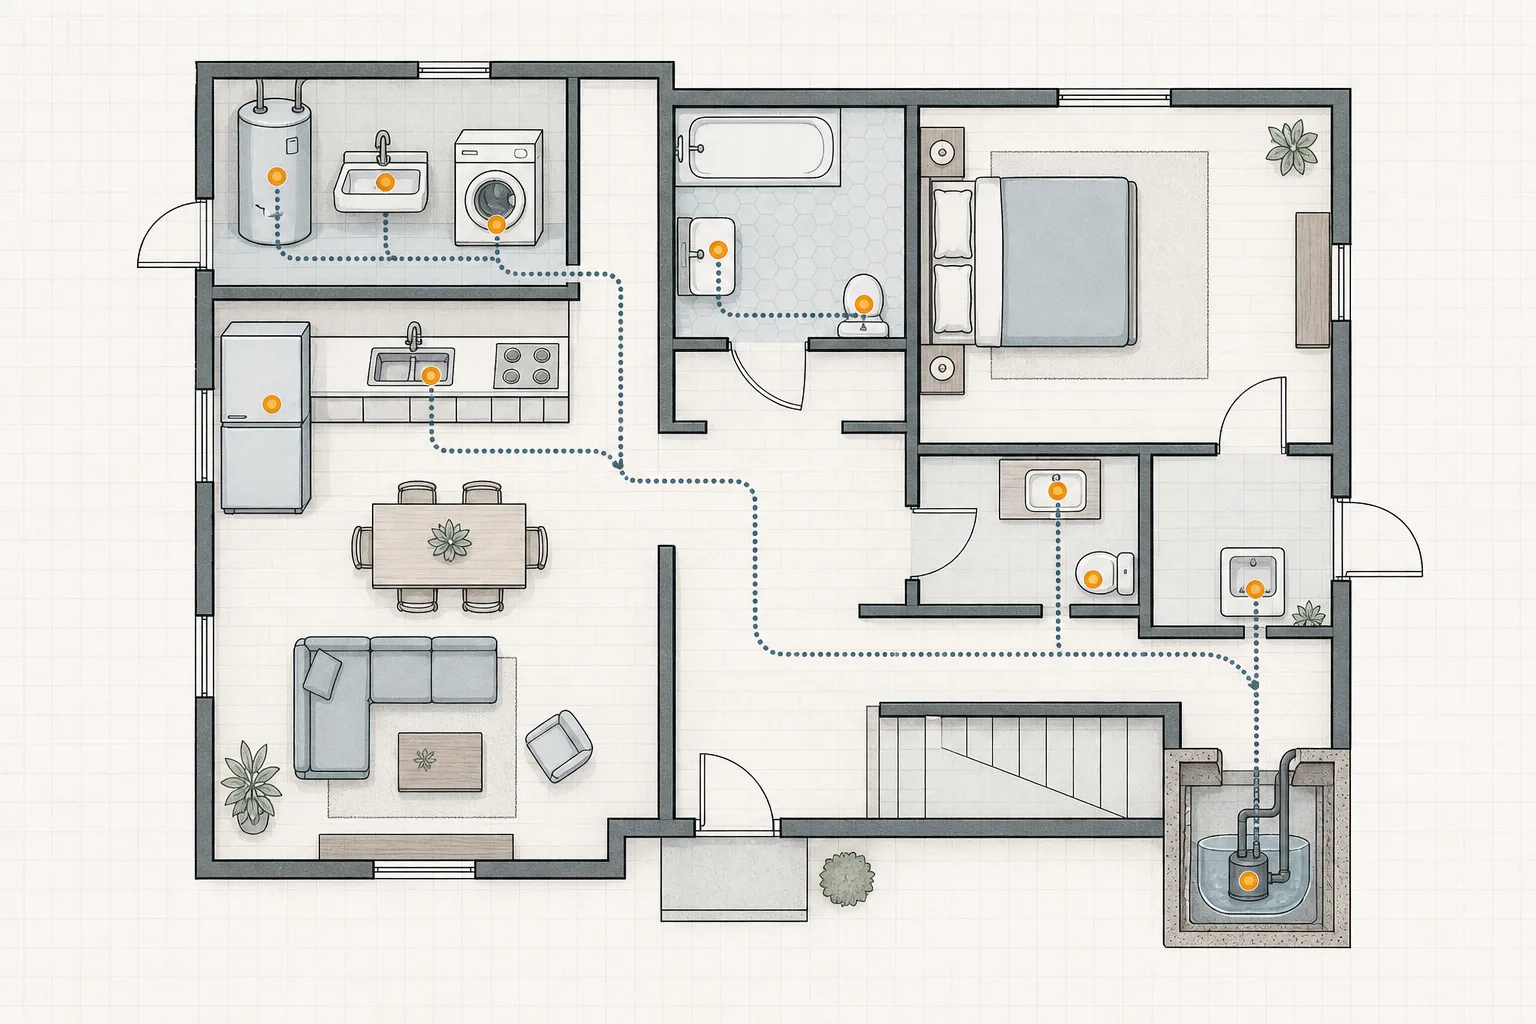
Place leak sensors where water arrives first on the floor — low, flat, and touching the surface — at the six highest-risk spots: (1) the water heater pan, (2) beside the washing machine, (3) under the kitchen and bathroom sinks, (4) behind each toilet, (5) at the sump pit, and (6) behind the refrigerator’s water line. Two placements waste sensors: the middle of open floors (water pools at the lowest point, not the middle) and basements without any plumbing fixture (put the sensor at the floor drain or sump instead, where the water is heading). A five-pack covers the six spots if you prioritize by consequence: water heater and washing machine first — one stores 40–50 gallons on standby, the other feeds rubber hoses that hold full pressure around the clock. Interior water damage remains one of the most persistent sources of insurance claims, with appliance failures a consistent loss driver.[2]
Sensors alert; they don’t stop anything. That’s not a flaw — a $12 puck that screams at 2 AM is the cheapest insurance in the house — but it’s the reason the whole-home ladder (point sensor vs whole-home shutoff, and the Flume vs Flo vs Phyn comparison) exists for people who want the water to stop by itself.
The Rule Behind Every Placement
Water obeys gravity and structure: it runs down, follows slopes, and pools at the lowest point it can reach — usually against a wall, in a pan, or at a drain. So the placement rule is:
Put the sensor in the path water takes on its way to that pool — as close to the source as the puck can physically sit, flat on the surface.
Three practical corollaries:
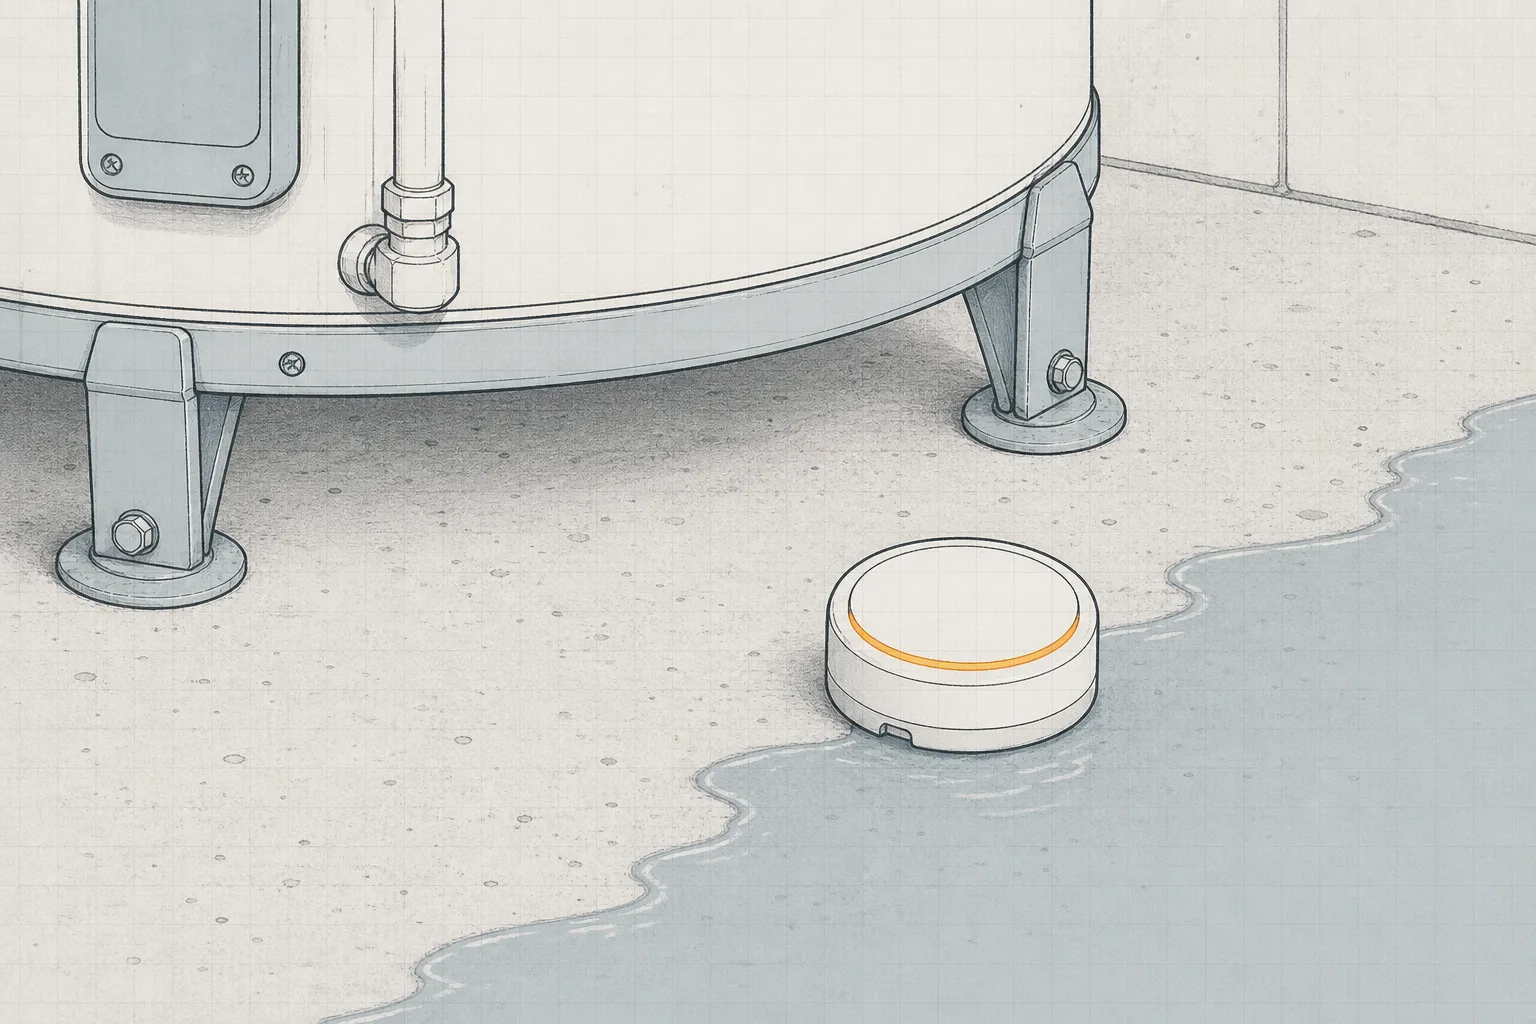
- Flat and touching. Most puck sensors detect water on their bottom contacts. Leaning one against a pipe, taping it to a wall, or resting it on carpet foam that wicks slower than the sensor can bridge — all of those delay or defeat detection. If the spot is carpeted, place the sensor on the slab or subfloor at the carpet’s edge where water will surface first.
- Low beats close. A sensor six inches from a slow drip but raised on a shelf loses to one on the floor three feet away. Height kills detection; horizontal distance mostly doesn’t.
- Contacts toward the water’s path. If the puck has a detect-strip on one edge, face that edge toward the likely flow direction (out from under the water heater, out from the washer box).
The Six Placements, Ranked by Consequence
1. The water heater pan — biggest volume, biggest consequence
Water heaters fail by leaking (slow, at fittings) or by dumping (tank rupture — the catastrophic one). The pan under the heater is designed to be the first collection point, and it’s the single highest-value sensor seat in the house: a tank holds 40–50 gallons, and a rupture releases all of it. Put the sensor in the pan, flat. If your heater has no pan, the sensor goes on the floor immediately at the heater’s base, on the side toward the nearest drain or wall seam.
Five stick-anywhere detectors with a gateway for phone alerts — one pack covers the water heater pan, washer box, sump rim, kitchen sink, and a toilet. Loud on-unit sirens work even if Wi-Fi drops.
Check price on Amazon As an Amazon Associate we earn from qualifying purchases. Price & availability shown on Amazon.com.2. The washing machine box — the burst-hose spot
Supply hoses are the weak link: they hold pressure 24/7, they’re rubber, and they’re usually the oldest flexible plumbing in the house. Place the sensor on the floor directly behind or beside the washer, at the wall where the hoses connect — that’s where a burst hose’s water lands first. (While you’re back there: braided stainless supply hoses are the cheap upgrade; a hose that never bursts doesn’t need a sensor.)
3. Under every sink — the slow-drip detector
Sink cabinet leaks are slow and silent — a dripping trap or supply line ruins the cabinet floor long before anyone notices. One puck per cabinet, at the back where the supply lines and trap run, on the cabinet floor (wipe it dry first — cabinets collect cleaner spills that cause false alarms).
4. Behind each toilet — the silent runner
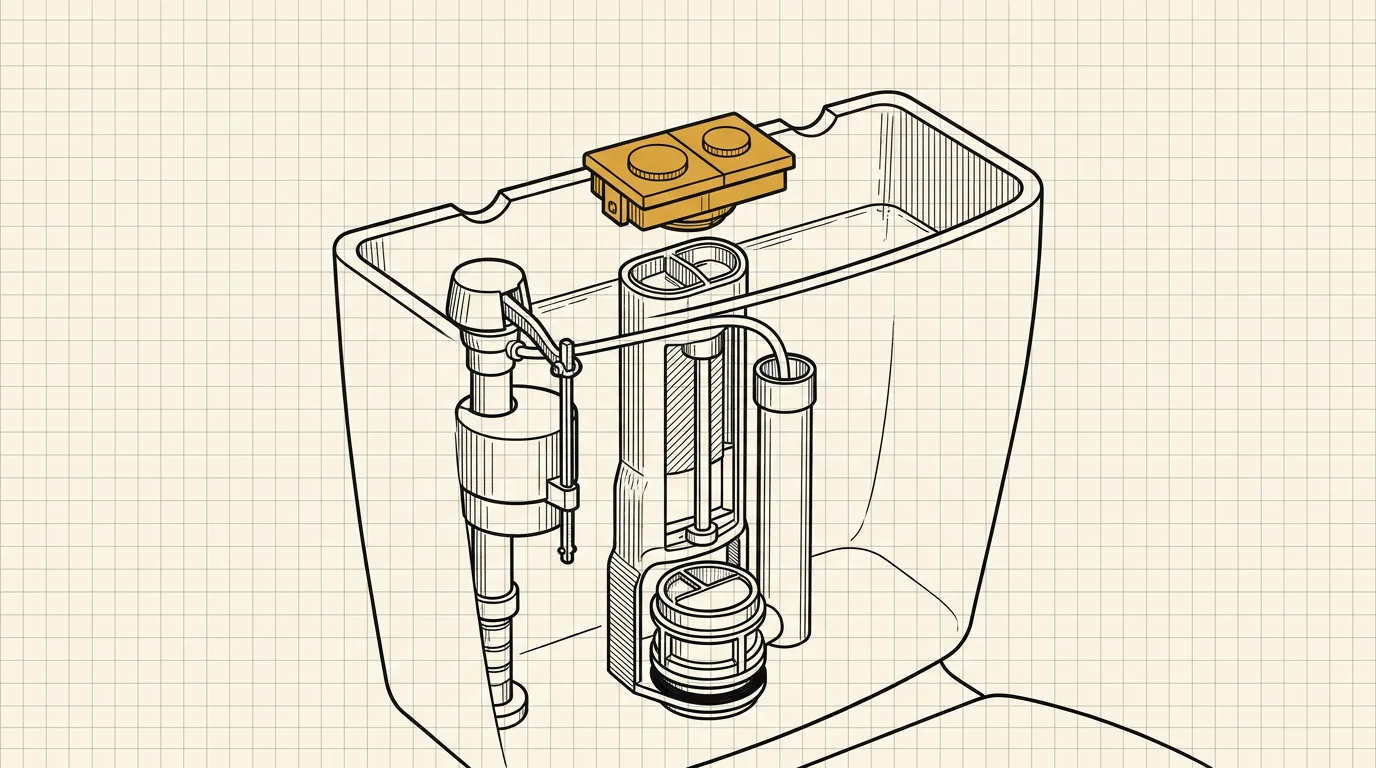
Toilet leaks are the highest-frequency leak in homes — EPA’s WaterSense program names running toilets among the most common household leaks, inside the ~10,000 gallons a year the average home loses.[1] The wax-ring and supply-valve failures show up on the floor behind the bowl. Sensor goes on the tile behind the toilet’s base, supply-valve side.
5. The sump pit rim — the basement’s tripwire
If your basement has a sump, every water problem in the house eventually sends water there. Two placements matter: at the pit’s rim (detects overflow when the pump fails or loses power) and — if your pump has a check-valve — at the floor nearby for pipe-joint weeping. A sump failure is the one leak class where minutes matter most, because the inflow doesn’t stop until the water table drops.
6. Behind the refrigerator — the invisible line
The ice-maker supply line is thin plastic or copper running where nobody looks, often through finished floors. A pinhole there travels under flooring before it surfaces anywhere visible. Sensor goes on the floor behind the fridge, at the wall, near the line’s connection — and accept that this one catches the leak later than the others (that’s physics, not a defect).
The Two Placements That Waste a Sensor
- Open floor in the middle of a basement. Water crosses the middle on its way to the low corner or drain — a mid-floor puck may never see standing water at all. Move it to the drain, the sump, or the lowest corner.
- On the toilet tank’s ledge, or anywhere elevated (shelf, top of the water heater, washer lid). Height defeats the contacts. This is the most common mistake in customer photos of “my sensor didn’t go off.”
What a Five-Pack Actually Covers
The math that makes a 5-pack the default purchase: water heater + washing machine + sump rim + kitchen sink + one toilet = the five highest-consequence seats. Second toilet and bathroom sinks are the next additions; the refrigerator line is arguably swap-worthy for a rarely-used second bathroom. The point is choosing by consequence, not distributing sensors evenly per room — a sensor in the guest bathroom that catches nothing has an opportunity cost.
Five stick-anywhere detectors with a gateway for phone alerts — one pack covers the water heater pan, washer box, sump rim, kitchen sink, and a toilet. Loud on-unit sirens work even if Wi-Fi drops.
Check price on Amazon Price & availability shown on Amazon.com — we may earn a commission.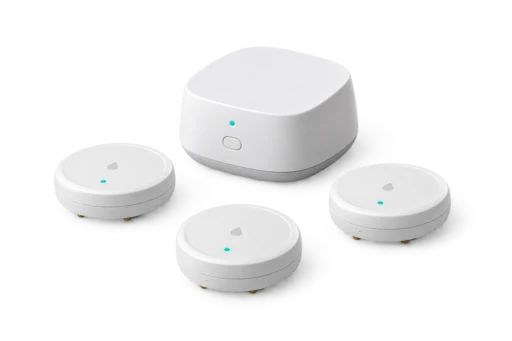
Maintenance: The Two-Minute Quarterly Check
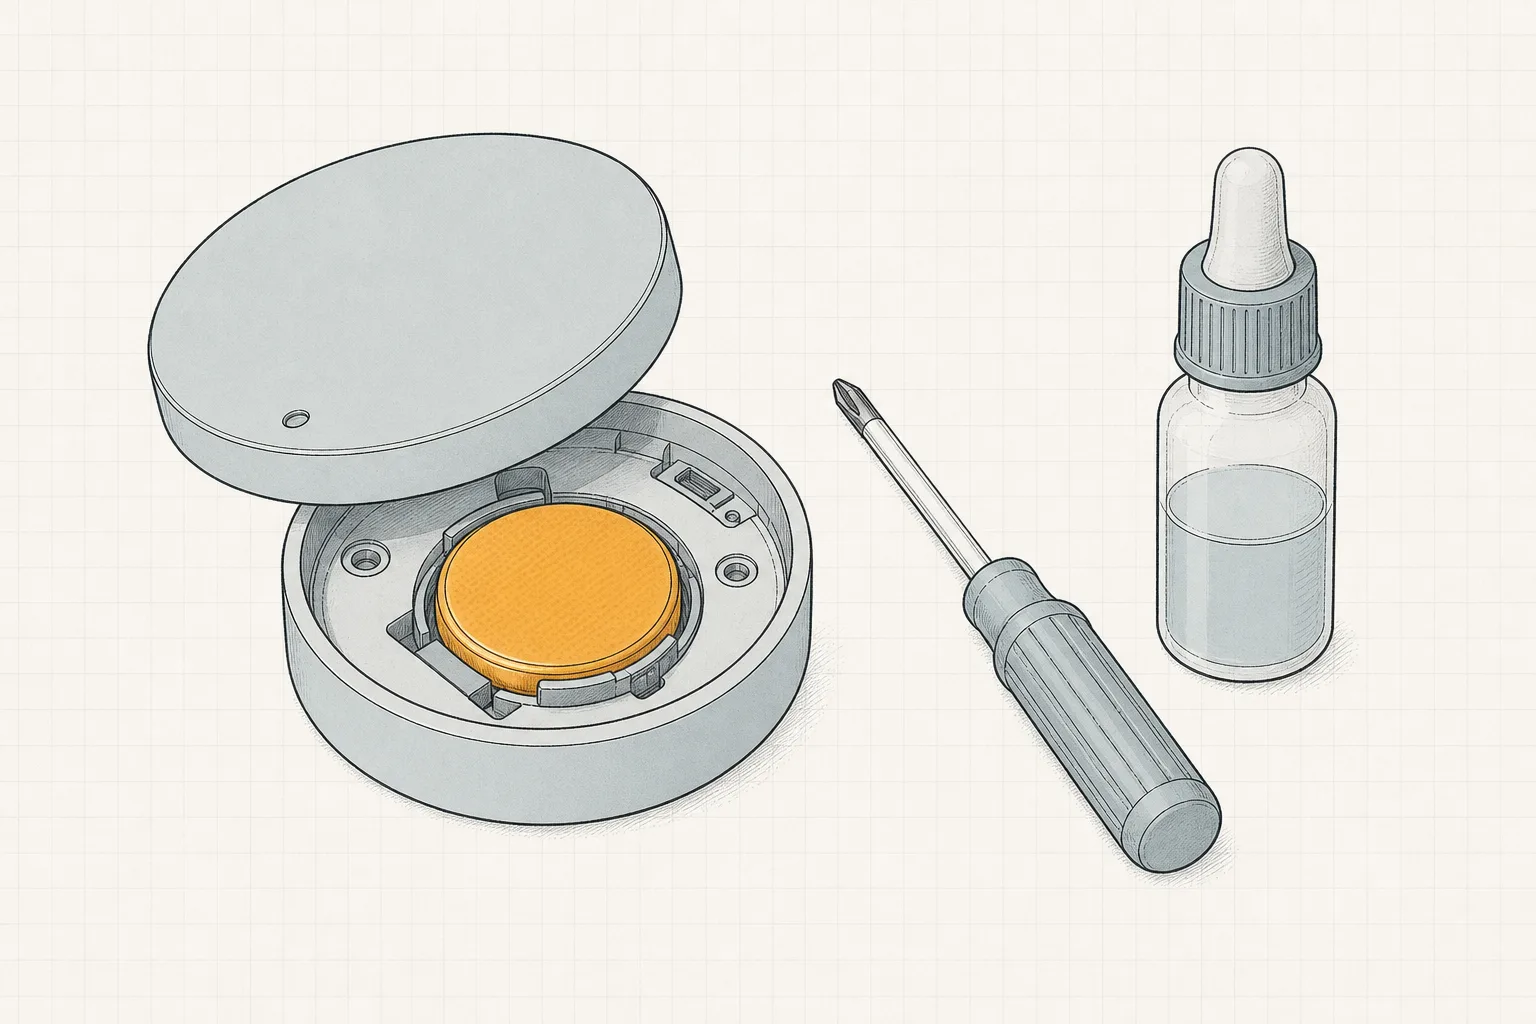
A dead sensor is worse than no sensor — it provides the feeling of protection. Quarterly:
- Test each puck — most units have a test button; a few drops of water on the contacts should fire the alarm within seconds. Dry and reset.
- Swap batteries on the manufacturer’s schedule (many advertise multi-year life; halve that estimate for unheated spaces — cold kills batteries faster than marketing admits).
- Re-seat any sensor that got kicked, buried under storage, or “helpfully” moved by a family member to a shelf.
When Placement Isn’t Enough
Pucks answer “did water arrive here.” If the question is “is anything leaking anywhere” — an unknown, a bill that’s creeping, a meter that runs at night — the diagnosis starts upstream: the water meter leak indicator and why is my water bill so high are the free five-minute checks. And if the acceptable outcome is “the water stops by itself,” that’s the whole-home tier — Flume vs Moen Flo vs Phyn covers what auto-shutoff actually buys.
Sources
- EPA WaterSense — Leak Detection — household leaks average nearly 10,000 gallons/year; toilets among the most common sources. Retrieved 2026-09-06.
- IBHS — State of the Risk: Interior Water Damage — interior water damage is a persistent source of insurance claims and losses; loss drivers include modern appliance failure rates and maintenance factors. Retrieved 2026-09-06.