Quick Answer
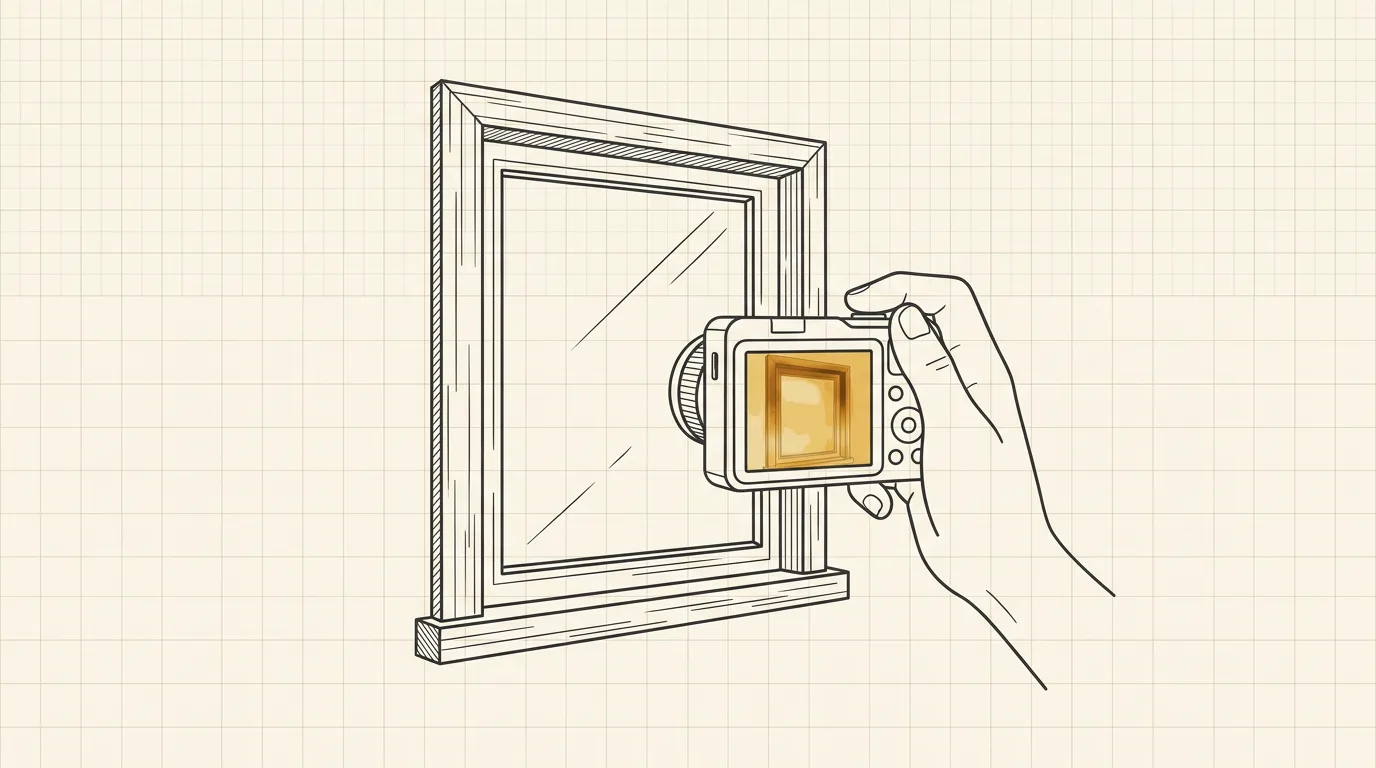
The Thermal Master P1 is the budget USB-C route into thermal imaging for DIY energy audits — about $116, 4.5 stars, with a native 160×120 IR sensor enhanced to 320×240 — and it is a genuinely useful draft-finder. But the honest headline is what it can’t do: no phone thermal camera sees inside walls, reads exact R-values, or replaces a blower-door audit. Our premium pick remains the FLIR ONE Pro, which our 47-point DIY leak hunt already recommends — it costs more and, on newer iPhones, needs a Lightning adapter or a different phone, which is exactly the caveat the USB-C P1 sidesteps. If you own an Android or a USB-C iPhone and want to find the drafts this winter for about the cost of two pizzas and a thermostat, the P1 is the sensible entry: the Thermal Master P1 on Amazon . The audit method itself lives in our draft-finding guide — this page is the tool decision.
First, What a Phone Thermal Camera Actually Measures
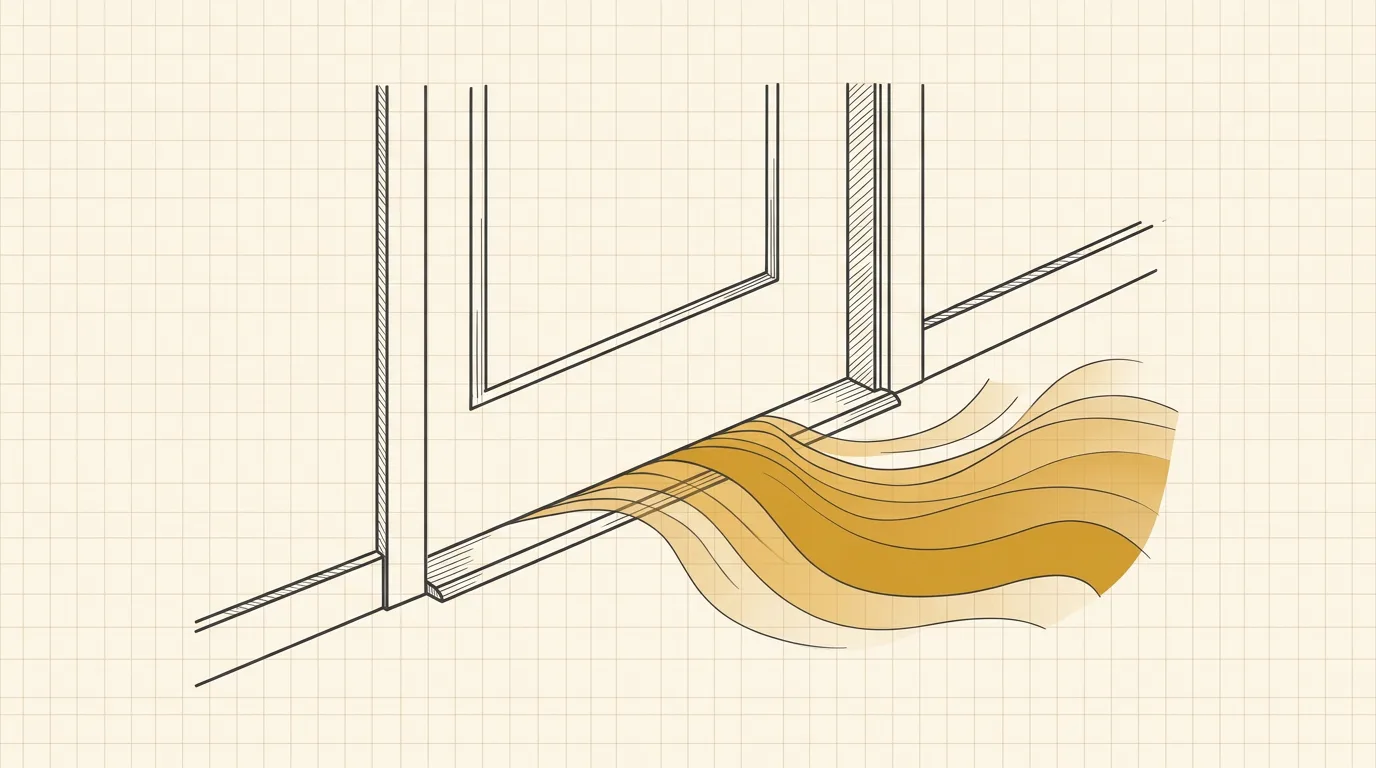
A thermal camera doesn’t see heat “through” things — it reads the infrared radiation emitted by surfaces, and converts it to a temperature map. That single sentence explains both the power and the limits of every camera on this page. A cold draft leaking under a door chills the trim and floor around it; the camera sees the chilled surface and paints it blue. Wet insulation conducts heat differently and shows up as a temperature anomaly on the wall face. But the wall cavity itself? The camera sees the wall’s surface temperature, which is influenced by what’s inside — not a picture of the inside.
The Department of Energy’s own guidance on thermographic inspections makes the same point from the professional side: infrared shows surface temperature patterns, and the quality of what you learn depends enormously on a big indoor-outdoor temperature difference — which is why pros do it in heating season with the house pressurized, and why your audit needs a cold morning, not a mild afternoon.[2]
The Conditions That Make or Break the Audit
No camera fixes bad conditions. Before you point any imager at anything:
- Create the temperature difference. A cold morning (ideally 20°F+ colder outside than in) with the heat having run at least 15 minutes. The DOE suggests an even bigger delta for serious work; for finding drafts, 15–20°F of difference is usually enough to make leaks obvious.[2]
- Walk the envelope, not the furniture. You’re scanning the boundary of the conditioned space: exterior doors, window frames and sashes, electrical outlets on exterior walls, recessed lights, baseboards, attic hatches, rim joist in the basement.
- Interpret deltas, not absolutes. A corner reading 58°F while the wall reads 68°F is the finding. The camera’s job is showing you where the anomaly is; the fix is usually caulk, weatherstripping, or foam — cheap stuff.
What the P1 Can Find — and What It Can’t
Can find (reliably, given a decent ΔT):
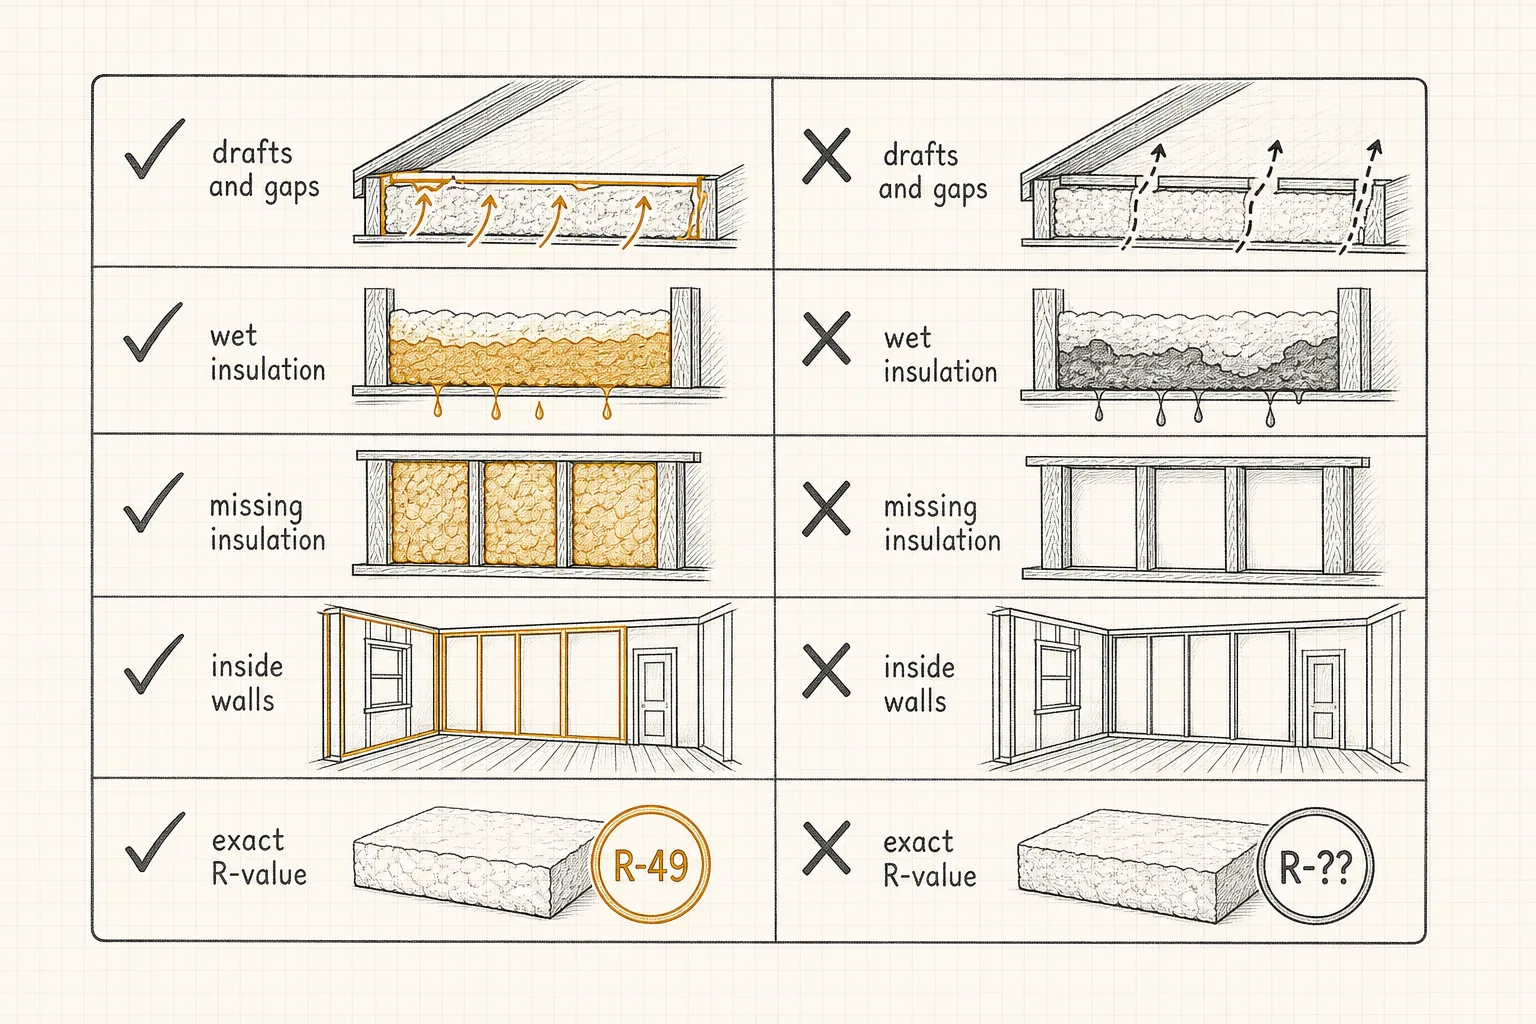
- Drafts at thresholds and window perimeters — the classic cold plume along a door gap.
- Recessed lights leaking conditioned air into an unconditioned attic (they read cold in winter).
- Missing or displaced insulation patches — a cold rectangle on a ceiling or wall where a batt was never installed or has slumped.
- Moisture signatures — damp areas evaporate and run cool; the camera flags the anomaly, though it can’t tell you why it’s wet.
- Hot electrical spots — an overheating breaker or connection on a panel face (a genuine safety use, with the caveat that panel covers hide most of the hardware).
Can’t do (no matter the price):
- See inside walls. It reads the surface. Insulation problems show up as surface-temperature patterns only when there’s a strong ΔT.
- Report exact R-values. You get a temperature pattern, not an insulation grade.
- Find leaks that aren’t happening. No ΔT, no signal — a thermal camera in July with the AC off is a paperweight.
- Replace a blower-door test. Pros use pressurization to force airflow through leaks; a handheld camera sees the big, obvious stuff.
The pick: Thermal Master P1 (USB-C)
Best when: you want a capable thermal camera for ~$116 that plugs straight into a USB-C phone with no adapter drama.
The P1’s spec sheet is the reason it’s the pick: a native 160×120 IR sensor (19,200 temperature pixels) enhanced by the vendor’s algorithms to 320×240 “super resolution,” ±3.6°F accuracy, a 52°×39° field of view, 25 Hz refresh, 0.04°C thermal sensitivity (NETD), and 15× digital zoom. It draws about 0.32 W from the phone — no batteries, no charging — and the listing claims 5–8 hours of runtime off the host device. It’s IP54-rated with 1-meter drop protection and ships with a carry case. At the time of writing it shows 4.5 stars from fewer than 100 reviews (63 global ratings) — a young listing, so buy it with that context: the hardware spec is verifiable, the long-term reliability record isn’t yet. It’s fulfilled by Amazon.
Native 160×120 IR sensor enhanced to 320×240, ±3.6°F accuracy, 52°×39° FOV, 25 Hz, 15× zoom. Powered by your USB-C phone — no batteries, no charging. IP54, carry case included. Fewer than 100 reviews at the time of writing — a young listing.
Check price on Amazon Price & availability shown on Amazon.com — we may earn a commission.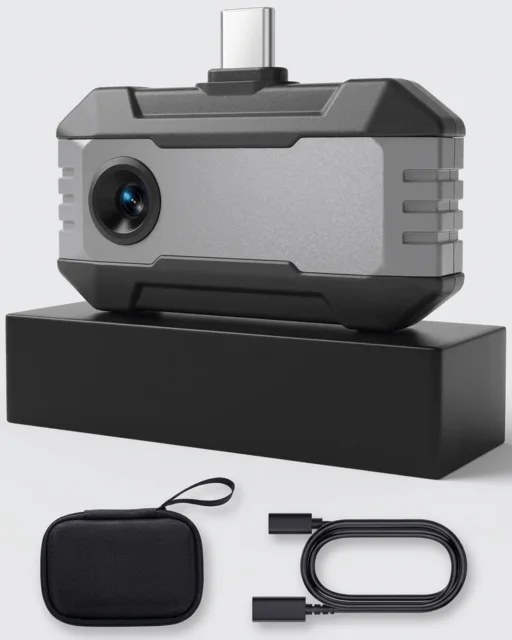
The premium pick we already recommend: FLIR ONE Pro
Best when: you want the established, higher-resolution option and your phone situation allows it.
We’re not linking a box for this one — our 47-point leak hunt already recommends the FLIR ONE Pro by name, and that recommendation stands. Its MSX-enhanced imagery and build quality are the reason it’s the prosumer default. The honest caveat that keeps the P1 relevant: the ONE Pro is a Lightning-port device in its common configuration, which on a USB-C-only phone means adapters or workarounds — and that friction is precisely what the P1’s USB-C plug resolves. If you’re an iPhone user with a Lightning port and want the premium image quality, the FLIR is still the better camera. If you’re USB-C and budget-conscious, the P1 gets you 80% of the audit value for a fraction of the price.
Head-to-Head
| Thermal Master P1 | FLIR ONE Pro (premium, no box here) | |
|---|---|---|
| Price band | ~$116 | Higher (check current pricing) |
| Native IR resolution | 160×120 (19,200 px) | 160×120 with MSX enhancement |
| Enhanced resolution | 320×240 (vendor algorithms) | MSX blends visible detail into thermal |
| Phone connection | USB-C, plug-in powered | Lightning (adapter workarounds on USB-C phones) |
| Power | Draws from phone (~0.32 W) | Self-powered module |
| Rating at time of writing | 4.5 stars, 63 ratings (young listing) | Long-established review base |
| Best for | USB-C owners, first audit, budget | Image quality, established ecosystem |
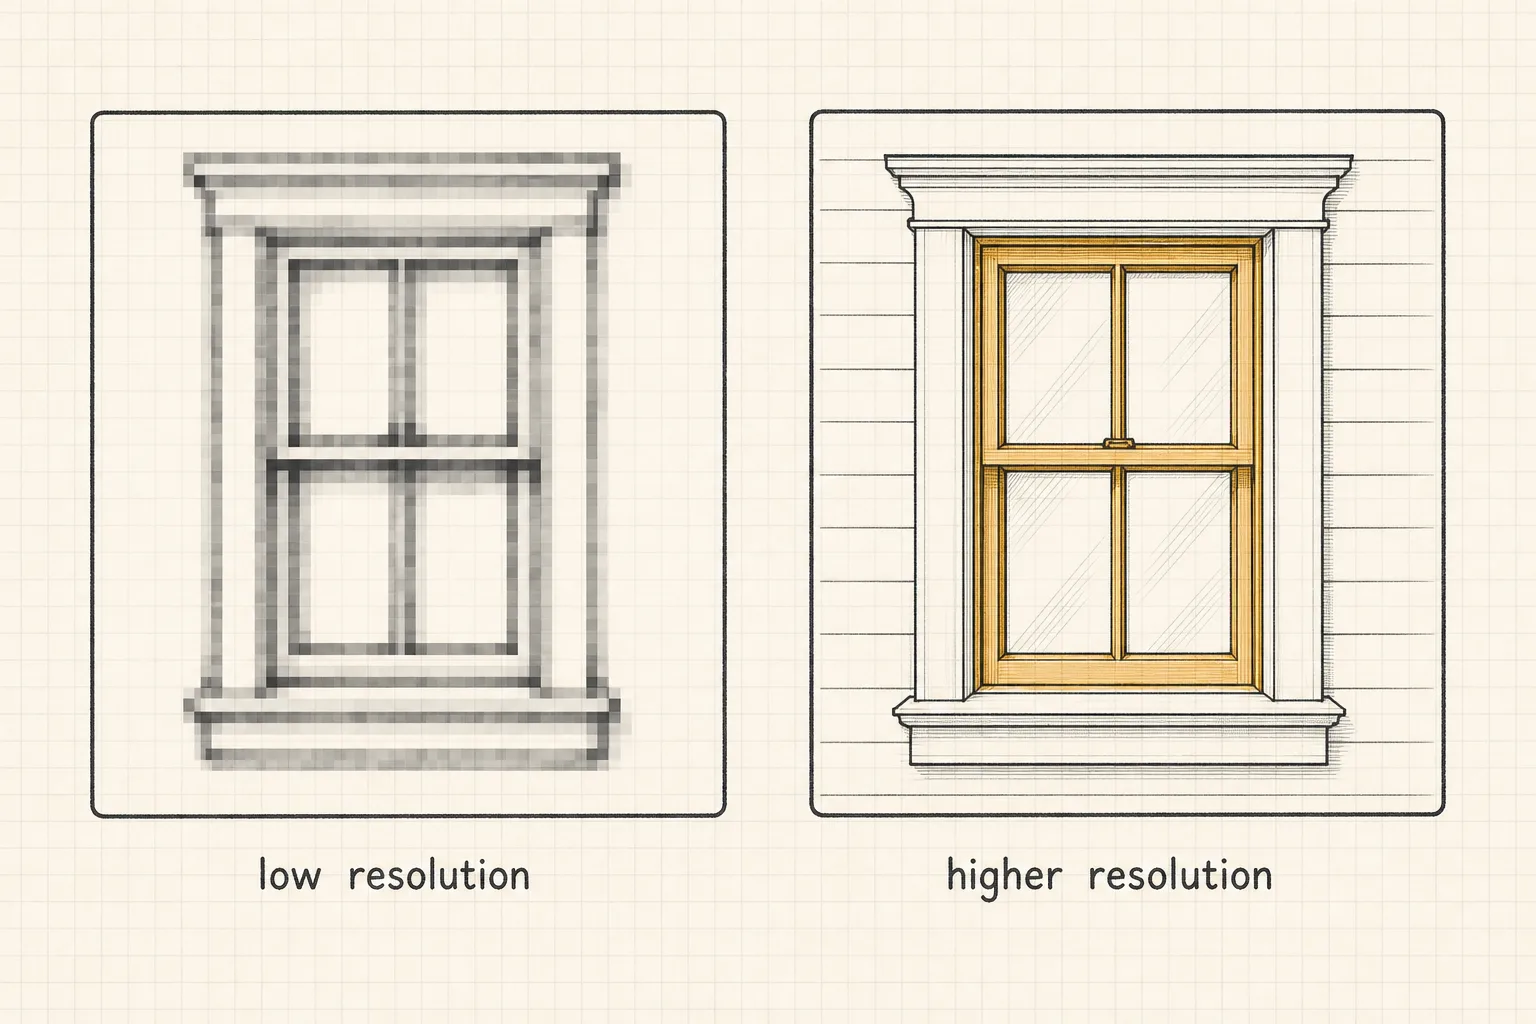
Resolution is the spec that actually matters here, and it’s worth being blunt about why: a 160×120 sensor resolves a window frame into a 160×120 grid — enough to see that the frame is cold and roughly where. A 256×192 sensor (the tier above, common in standalone imagers) draws the same scene with 2.5× the pixels, so a narrow gap reads as a thin line instead of a blob. The P1’s 320×240 “super resolution” is algorithmic upscaling of the native 160×120 — real sharpening, but not new data. For finding drafts and cold rectangles, 160×120 native is genuinely enough; for reading fine crack patterns, more native pixels still win.
The Math: What the Drafts You Find Are Worth
Assumptions: national average residential electricity of 18.34¢/kWh (EIA, June 2026),[3] average household use ~899 kWh/month,[4] and a heating-season framing where air sealing meaningfully reduces runtime.
- The camera: ~$116 once. If it helps you find and seal three significant leaks, and air sealing trims even 5% off a $165/month average bill during a 6-month heating season: $165 × 0.05 = $8.25/month × 6 = $49.50/season. The camera pays for itself in roughly two seasons — if you act on what it shows.
- The comparison that matters: a single pro energy audit commonly runs $200–$600. The P1 is ~$116 and reusable every winter, for every room, forever — but it finds less than a pro with a blower door. Honest framing: it’s a screening tool, not an audit replacement.
- Per-leak math: a drafty exterior door leaking enough to chill its trim is the kind of leak a $10 weatherstripping kit fixes in an hour. One found-and-fixed door can easily return the camera’s cost in a single season.
Which Should You Actually Buy?
- USB-C phone, first thermal camera, draft-hunting on a budget → Thermal Master P1. ~$116, no batteries, no adapter.
- Lightning iPhone, want the best image quality → FLIR ONE Pro, as recommended in the 47-point leak hunt — no box here, buy it there.
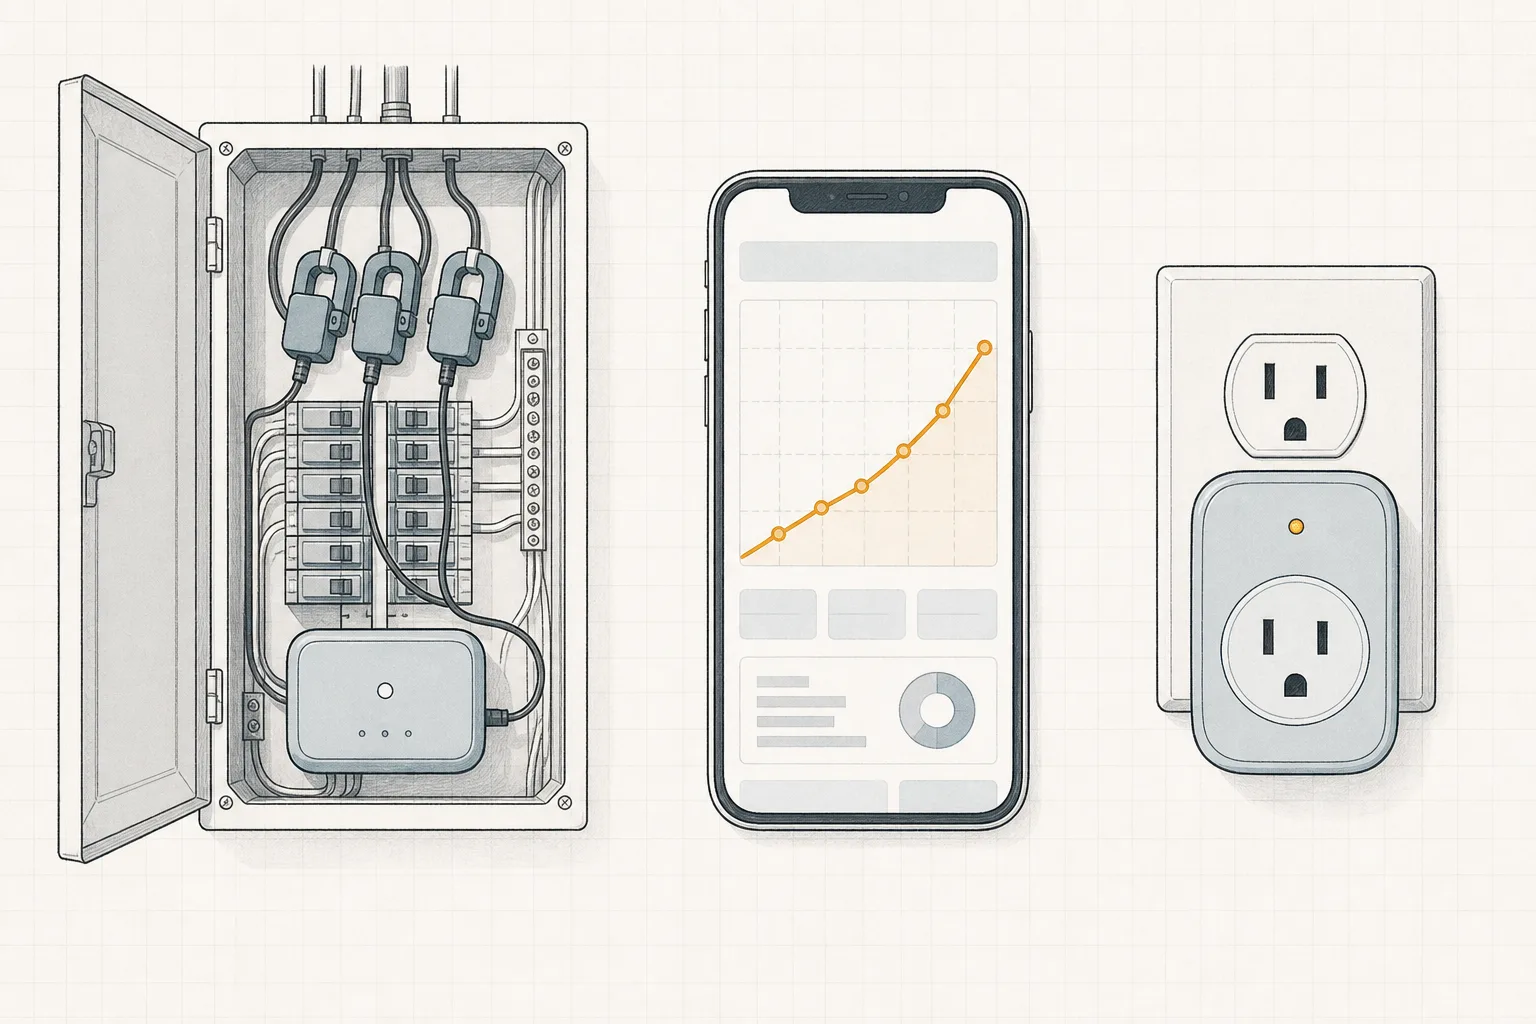
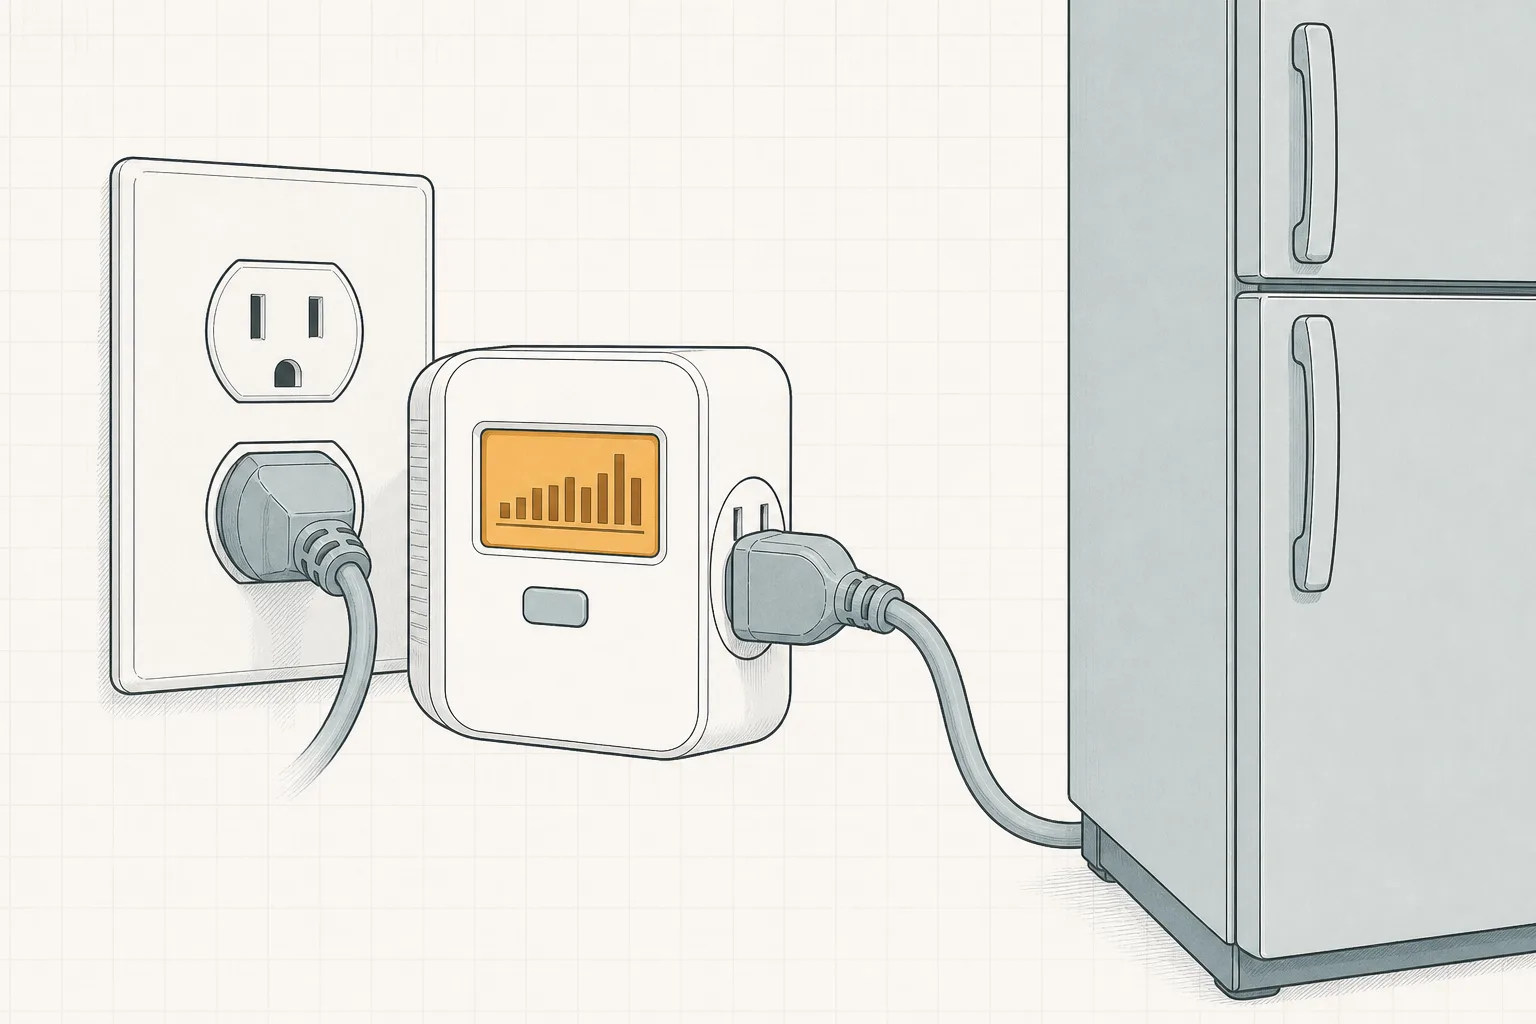
- You want to know why the bill is high, not just where it’s cold → pair the camera with phantom power draw explained and a plug-in meter; thermal finds the envelope leaks, a meter finds the always-on loads.
- Suspect serious insulation failure or moisture → skip straight to a professional audit with a blower door; the camera will confirm the symptom but not the cause.
And the standing rule for every thermal image you’ll ever take: a thermal camera shows temperature differences, not problems. A cold ceiling patch might be missing insulation, a duct leak above it, or a plumbing run — the camera tells you where to look next, and the verification (a flashlight, an incense stick, an attic visit) is still yours to do. If you won’t act on the images, save the $116.
Sources
- Amazon — Thermal Master P1 USB-C Thermal Camera (B0FMS2WC9X) — 160×120 IR native / 320×240 super resolution, ±3.6°F accuracy, 52°×39° FOV, 25 Hz, 0.32 W power draw, IP54, 4.5 stars / 63 global ratings, $116.10 at retrieval, fulfilled by Amazon. Retrieved 2026-09-11.
- Energy.gov — Thermographic Inspections — infrared thermography reads surface temperatures; accuracy of interpretation depends on a large indoor-outdoor temperature difference. Retrieved 2026-09-11.
- EIA Electricity Monthly Update — End-Use Consumption — average residential price 18.34¢/kWh, June 2026. Retrieved 2026-09-11.
- EIA — How much electricity does an American home use? — ~899 kWh/month average household use. Retrieved 2026-09-11.